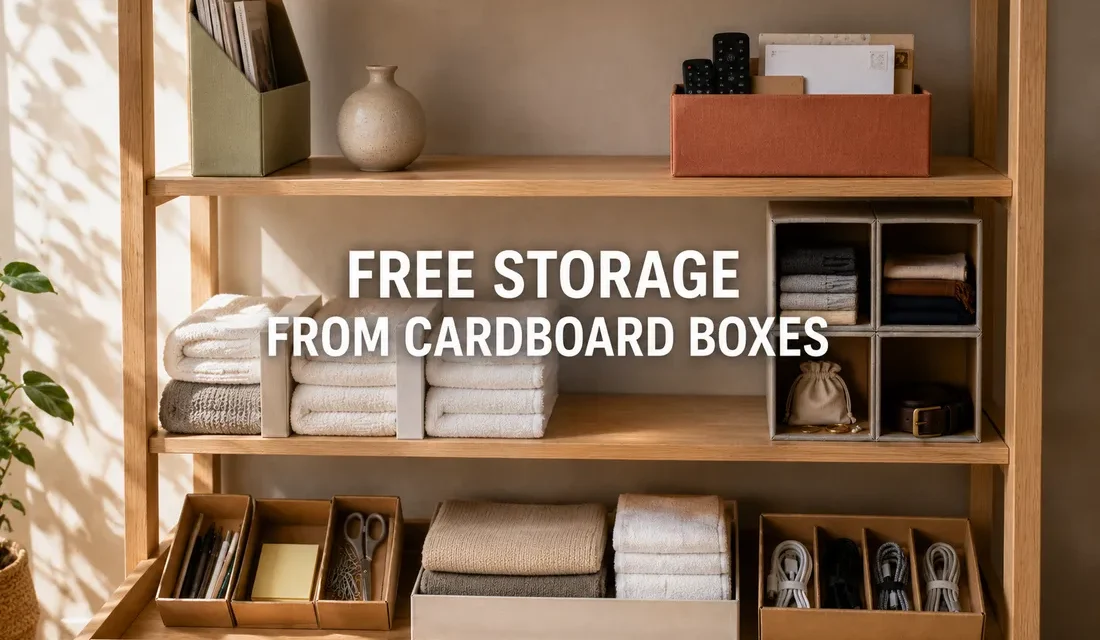
You can turn ordinary cardboard, delivery boxes, shoe boxes, and cereal boxes, into free drawer dividers, shelf organizers, and storage bins by cutting them to size and covering them with fabric, paper, or paint you already own. No purchase is required for the box itself, and most of the covering materials are things already sitting in a junk drawer or craft bin.
If you have ever stood in front of a drawer full of random odds and ends, chargers, rubber bands, old receipts, with no idea where to start, there is a good chance the fix is already sitting in your recycling pile. The average household discards more than 200 cardboard boxes a year, most of it from online orders, and almost none of it gets a second look before it hits the bin. That is a lot of free storage material going straight to the curb.
This guide walks through nine specific ways to turn that cardboard into something that actually organizes your home, room by room, with the exact cuts, coverings, and small tricks that make each one hold up over time instead of falling apart after a week.
Why Are Cardboard Boxes a Good Free Storage Solution?
Cardboard boxes are sturdy enough to hold everyday items, easy to cut to any size with household scissors or a box cutter, and already shaped like the drawers, shelves, and containers most storage products try to copy. Since they usually arrive for free with deliveries or groceries, turning them into organizers costs nothing beyond a little time and whatever tape or covering material you already have at home. A shoe box, for example, is already close to the depth of a standard dresser drawer, which means the hardest part of the project, sizing, is already done before you even pick up a pair of scissors.
What You Will Need
None of these projects require a shopping trip, but a few basic supplies make the results last longer and look more finished. Chances are you already have most of these around the house:
- A sturdy pair of scissors or a box cutter with retractable blade for clean cuts
- Tape, either packing tape or a stronger [double-sided mounting tape] if you want a more secure hold
- A glue stick or [fabric glue] if you plan to wrap boxes in cloth
- Leftover fabric scraps, wrapping paper, contact paper, or wall paint for covering
- A ruler or straight edge for even cuts, though a book or piece of cardboard works too
If you genuinely have none of these on hand, a basic craft kit with tape, glue, and a cutter runs about 15 dollars on Amazon (roughly 12 pounds in the UK), which is still far cheaper than buying finished storage bins for every drawer in the house.
1. Turn a Shoe Box Into a Drawer Organizer
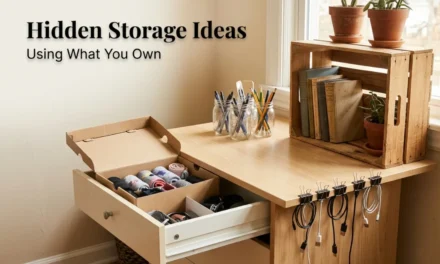
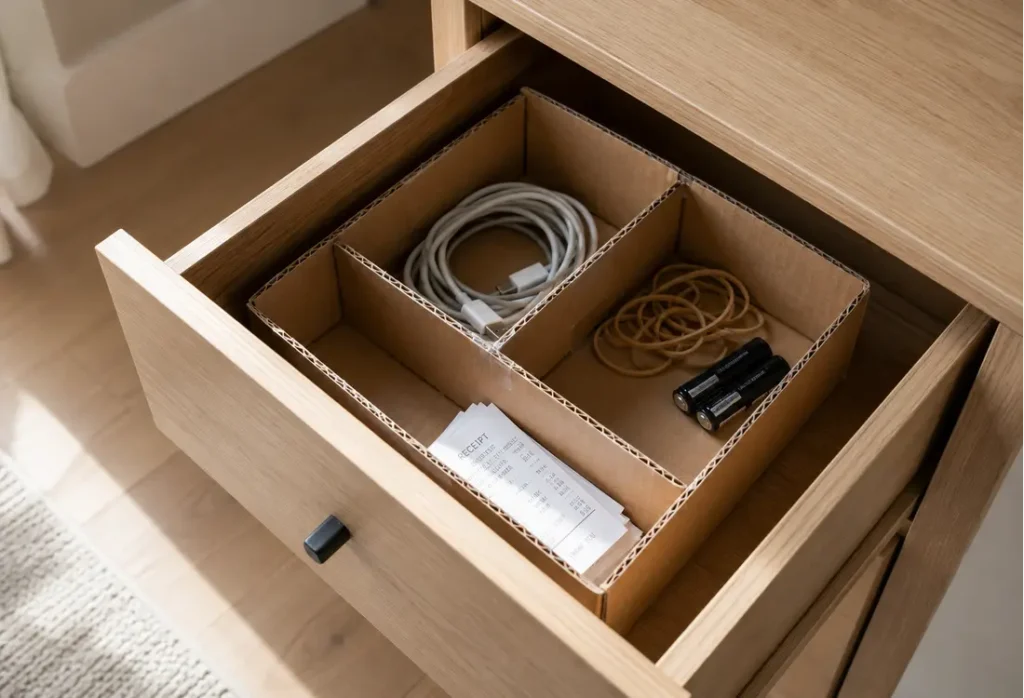
A shoe box is close to the exact depth of most dresser or kitchen drawers, which makes it an easy base for a drawer divider system. Cut the box down to your drawer’s height, then cut the lid or a spare flap into two or three smaller dividers and glue or tape them inside in an L-shape or grid pattern depending on how many compartments you need. This works especially well for a junk drawer full of miscellaneous items that never had a real home, chargers, batteries, rubber bands, and loose receipts.
A quick tip that makes this last longer: run a strip of tape along any cut edge before it goes into daily use. Raw cardboard edges are the first thing to fray with repeated opening and closing, and a single strip of tape adds months of life to the divider.
2. Turn an Amazon Box Into Open Shelf Dividers
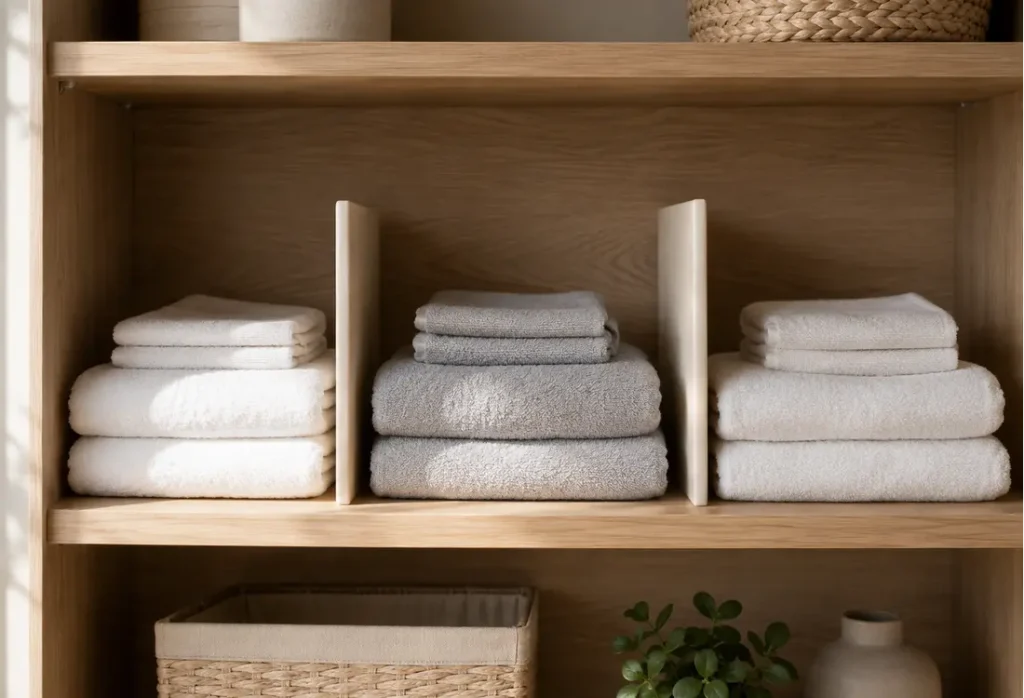
A medium Amazon box can be cut into vertical shelf dividers that keep folded items like towels or sweaters from toppling over on an open shelf. Cut the box into flat rectangular panels sized to your shelf’s height, then either leave the cardboard bare for a minimalist look or wrap it in leftover wrapping paper or fabric scraps you already have, securing the wrap with a [glue stick] or double-sided tape. Slide the panels upright between stacks of folded items to keep each stack separate.
If the divider feels flimsy on its own, double up two layers of cardboard glued back to back before wrapping. The extra thickness keeps it standing upright even when the shelf gets bumped or items are pulled out quickly.
3. Turn a Cereal Box Into a File or Magazine Holder
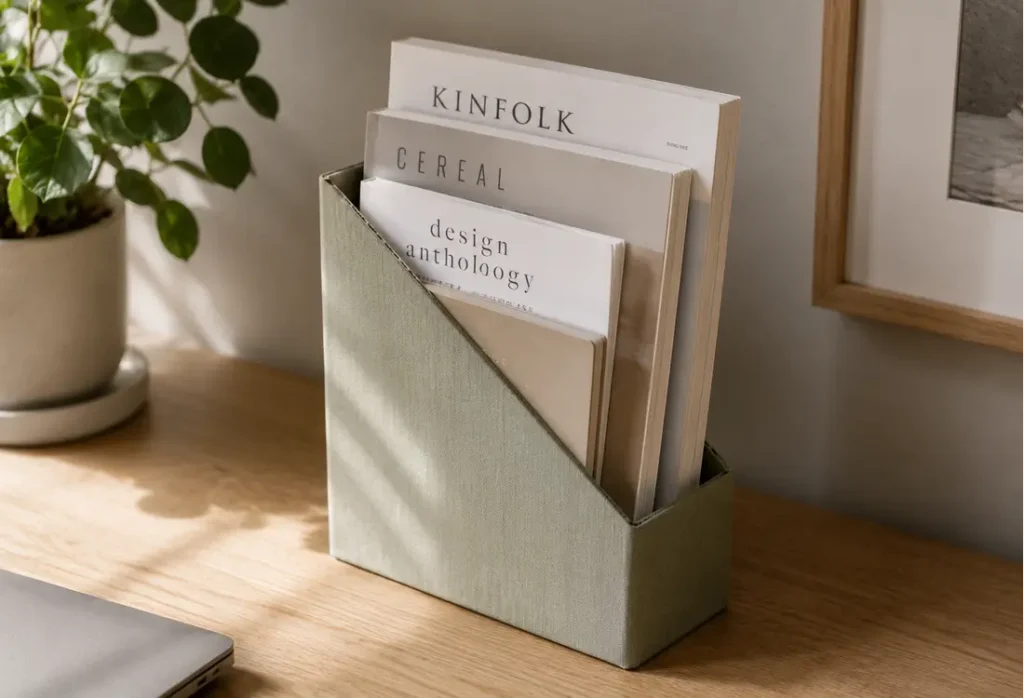
A cereal box cut at a diagonal angle becomes a sturdy file holder for magazines, mail, or notebooks standing upright on a shelf or desk. Cut the box at a slant from about two-thirds of the way up on one side down to the bottom of the opposite side, then cover the cut edges with tape so they do not fray. Wrapping the outside in leftover contact paper or fabric makes it look far less like its original packaging, and because cereal boxes are thinner than shipping boxes, they take covering material well without adding much bulk.
For a sturdier result, tape two cereal boxes together side by side before cutting, which gives you a wider holder that will not tip over as easily once it is full.
4. Turn a Covered Box Into a Decorative Catch-All Bin
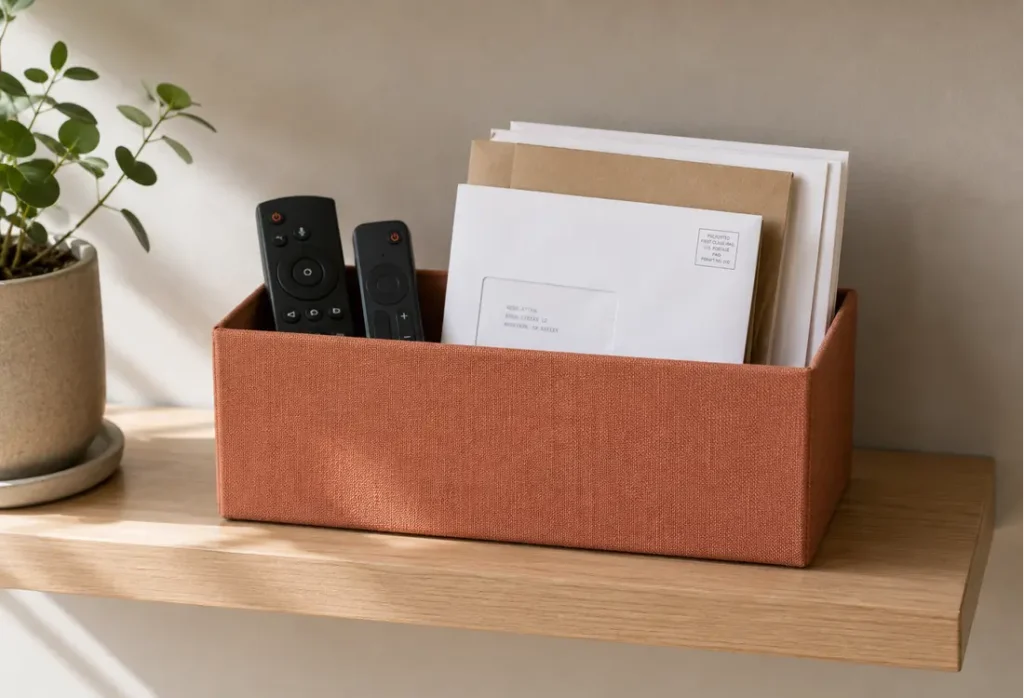
Wrapping a sturdy cardboard box in fabric or leftover paper turns it into a bin that looks intentional sitting out on a shelf instead of something waiting to be recycled. Use [fabric glue] or double-sided tape to secure the covering smoothly around the outside and inside lip of the box, working in small sections so the fabric does not bunch or wrinkle, and let it dry flat for about an hour before using it. This is an easy way to corral small items that do not have a designated spot, hair accessories, mail, loose remote controls.
For a cleaner finish, fold the fabric edges under before gluing, the same way you would hem a piece of clothing, rather than leaving raw cut edges exposed at the rim of the box.
5. Use Small Box Dividers Inside a Desk Drawer
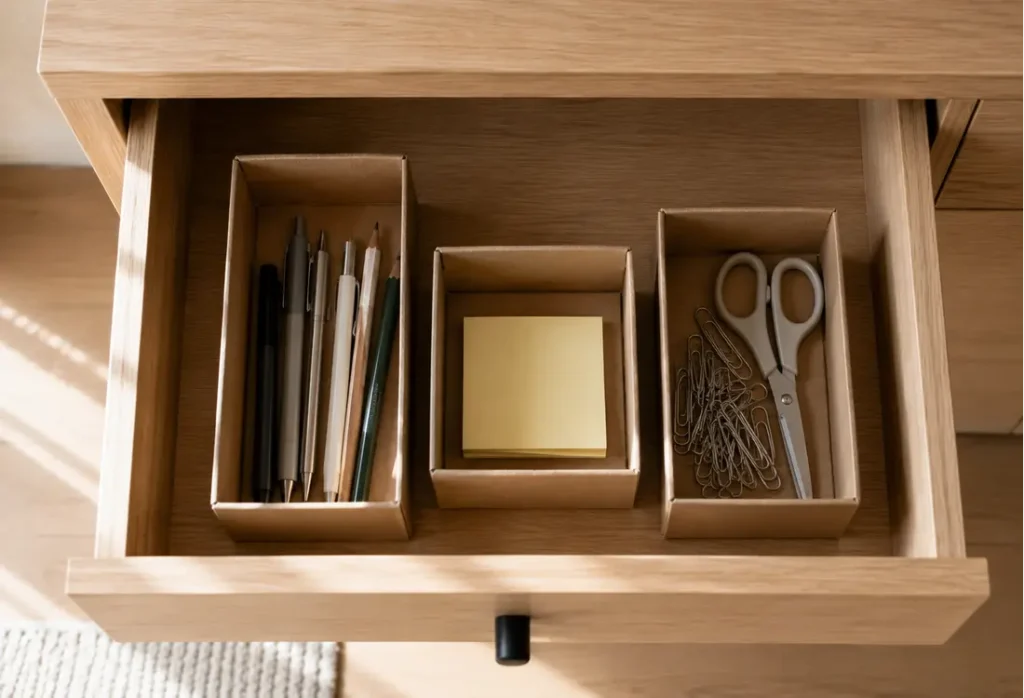
Small boxes, like the ones travel-size toiletries or electronics accessories arrive in, are the right size to divide a desk drawer into sections for pens, sticky notes, and paper clips. Arrange two or three small boxes side by side inside the drawer without cutting them at all, and use their existing walls as the dividers. This works especially well because these smaller boxes are usually just thrown away otherwise, and their small size means there is almost no cutting or measuring involved.
If the boxes shift around inside the drawer when it opens and closes, a small dab of glue on the bottom corners holds them in place without permanently attaching anything to the drawer itself.
6. Turn a Large Box Into Hidden Under-Shelf Storage
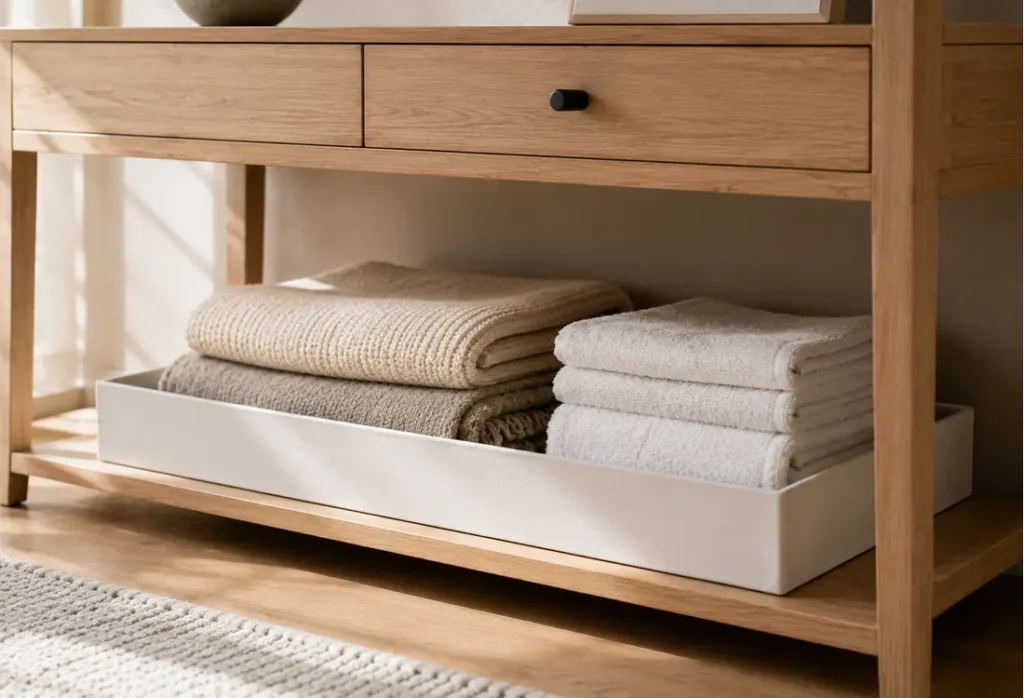
A large, sturdy box with its lid cut down to a low tray becomes a hidden storage container that slides under a console table or open shelving unit. This works well for items you want accessible but out of sight, spare linens, seasonal decor, extra toiletries. Covering the outside in leftover fabric or paint you already have at home keeps it from standing out as an obvious cardboard box, and because it stays tucked under furniture, the covering only needs to look good from the front and sides.
Reinforce the bottom corners with an extra strip of tape before loading it up, since this tray tends to carry more weight than the smaller box projects and the corners are the first place a heavier load will start to sag.
7. Build a Cable and Charger Box for a Drawer or Shelf
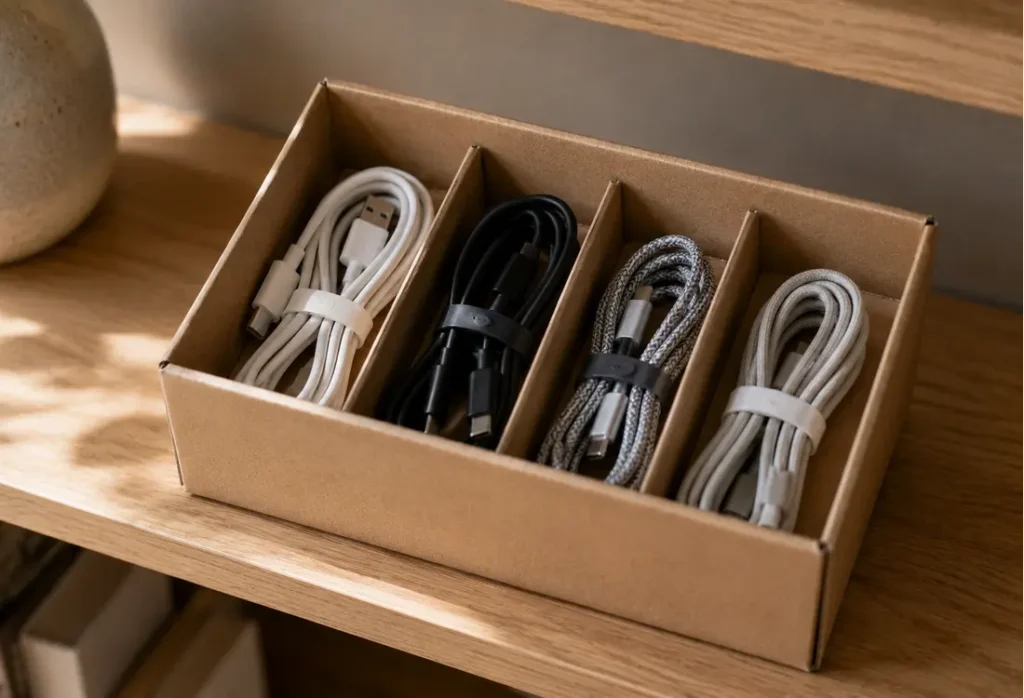
A small, shallow box with a few cardboard strips glued inside as dividers keeps chargers, cables, and small electronics accessories from turning into a tangled pile. This is one of the simplest transformations since it usually only takes one box and a couple of leftover cardboard strips cut from a second box, and it takes less than ten minutes start to finish.
Coil each cable loosely before placing it in its section rather than letting it sit however it lands. A loosely coiled cable stays untangled far longer than one that is simply dropped in.
8. Stack Boxes Into a Mini Shelf System for a Closet
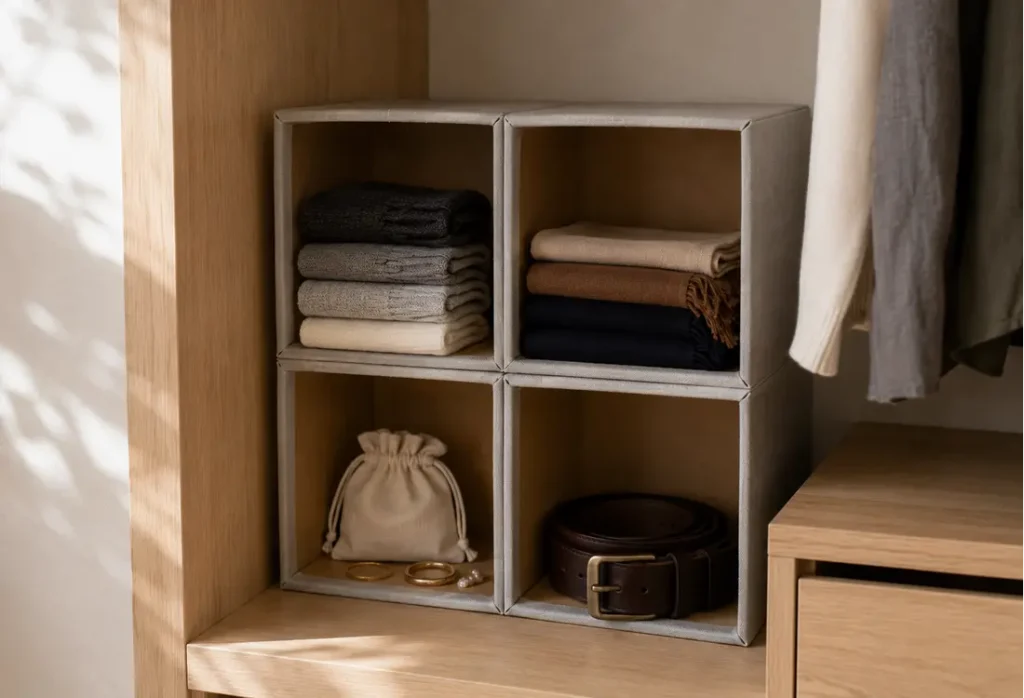
Several same-sized boxes, like shoe boxes, stacked and taped together in a simple grid create a lightweight shelf unit that fits into an empty closet corner without any tools or hardware. Cover the front-facing edges in leftover fabric or paper for a more finished look, and use each cube for a different category of small items, socks, accessories, folded scarves. Because the boxes are taped together as a single unit rather than freestanding individually, the whole thing is far more stable than it looks.
Matching boxes make this project look far more intentional than mismatched ones, so it is worth saving a few same-sized shoe boxes over a couple of weeks before starting rather than using whatever is on hand that day.
9. Turn a Shoebox Lid Into a Shallow Accessory Tray
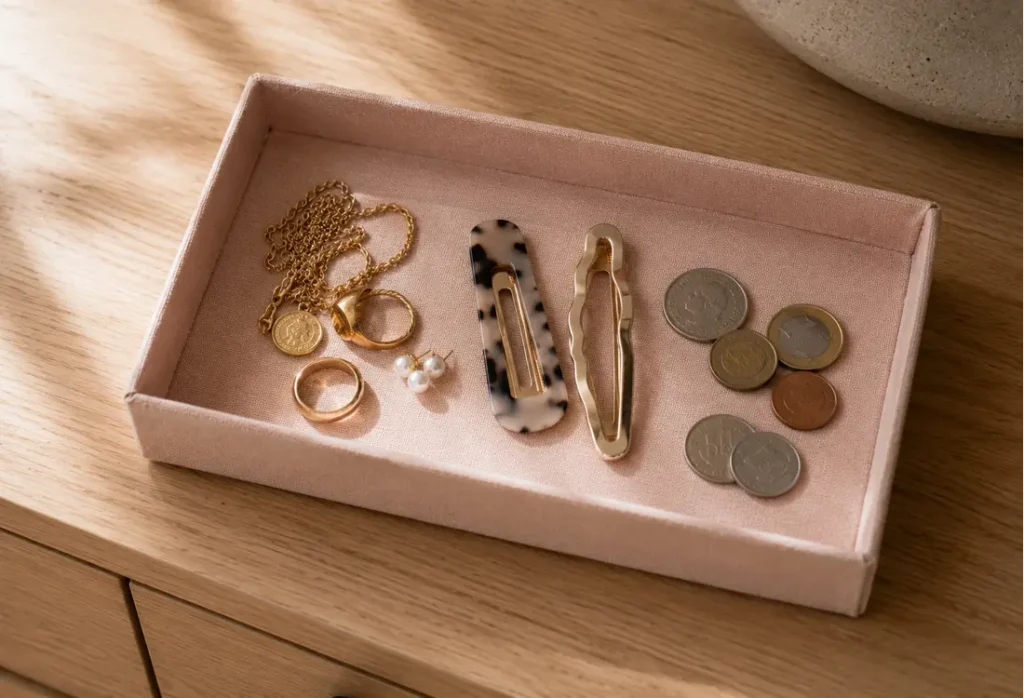
A shoebox lid on its own, without the rest of the box, makes a shallow tray that is perfect for corralling small accessories on top of a dresser or vanity. Line the inside with a scrap of fabric or leftover wrapping paper for a slightly more finished look, and use it to catch jewelry, hair clips, or loose change instead of letting them scatter across the surface. Because the lid is already shallow and rigid, this is one of the fastest projects on this list, usually done in under five minutes.
None of these transformations need anything beyond boxes you likely already have sitting around, some tape or glue, and scraps of fabric or paper left over from other projects. The whole point is that storage does not have to be bought to actually work, sometimes the box your last order arrived in is the exact size you needed all along.
Frequently Asked Questions
Can cardboard boxes really work as long-term storage? Yes, for light to medium household items like clothing, office supplies, and accessories, cardboard boxes hold up well for months at a time as long as they stay dry. For anything heavy or in a damp area like a garage, reinforcing the bottom with extra tape or an additional cardboard layer helps them last longer.
What is the best way to cover a cardboard box so it does not look like trash? Wrapping the box in leftover fabric, wrapping paper, or contact paper secured with glue or double-sided tape is the easiest way to make it look intentional. Painting the box with leftover wall or craft paint works just as well if you do not have fabric or paper on hand.
Do I need any special tools to make these box transformations? No, a box cutter or sturdy pair of scissors, tape or glue, and something to cover the outside are all you need. None of the ideas in this guide require a drill, saw, or any hardware.
Which cardboard boxes work best for storage projects? Shoe boxes and small delivery boxes work best for drawers and small item organization since they already match common drawer depths, while larger delivery boxes work well for shelf dividers or hidden under-furniture storage.
How long does a cardboard storage bin actually last before it needs replacing? A covered, lightly used cardboard bin typically holds up for six months to a year indoors, and taping the seams and edges before use extends that further. Once the cardboard starts to soften or the corners begin to sag, it is a quick, free swap for a fresh box rather than a real loss.
Is it better to tape or glue a cardboard storage project together? Tape is faster and works well for structural joins, like attaching dividers or stacking boxes together, while glue gives a cleaner finish for attaching fabric or paper coverings. Using both, tape for structure and glue for the covering, gives the most durable result.