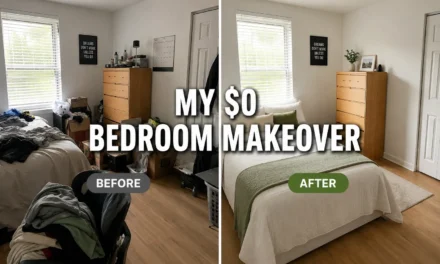

Short answer: yes, I made over my rental closet for $0 with no drilling. The method: a 12-12-12 declutter that removed 36 items, a tension rod for a second hanging zone, shoe boxes as shelf dividers, scarves as box labels, adhesive hooks on the door, and a battery tap light I already owned. One Saturday afternoon, fully reversible, deposit safe.
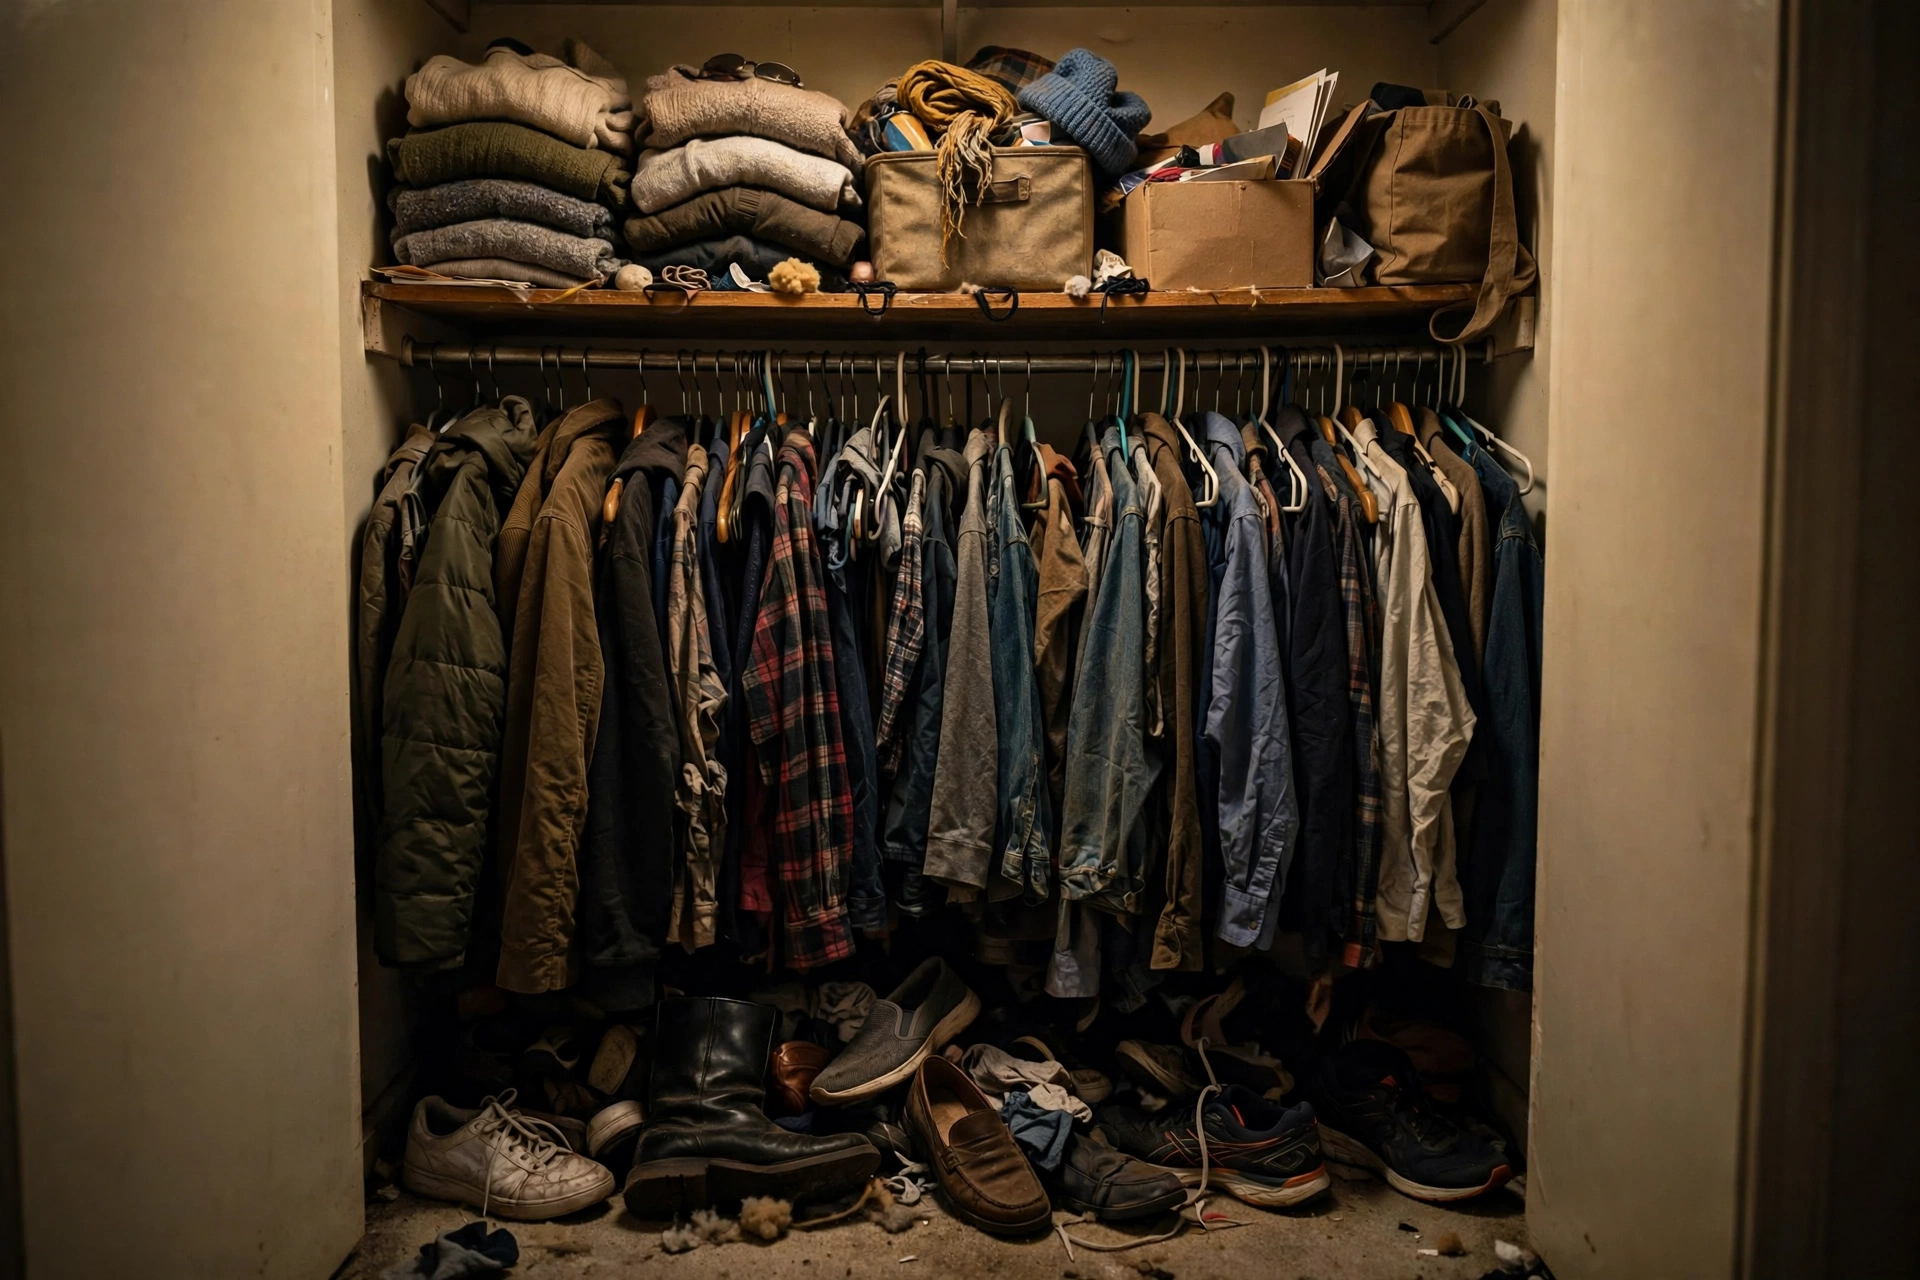
The avalanche happened on a Tuesday morning, when I was already late. I reached into my closet for one specific shirt, the good one, and half the closet came with it. Hangers tangled into a metal bird’s nest, a shoebox slid off the top shelf and burst open, and something thudded onto my foot. I stood there in my towel and thought: I am being defeated by a four-foot-wide closet.
The catch: my budget was exactly zero dollars, and I rent, so no drilling and no damage, or my security deposit was gone.
My Three Rules: $0, No Drilling, No Damage
Rule 1: Spend nothing. Every organizer had to come from inside my home. Rule 2: No drilling. Adhesive hooks I already owned were allowed, since they remove cleanly. Rule 3: The move-out test. Everything had to be reversible in under an hour. Those rules forced creativity instead of shopping.
Step 1: Declutter First (12-12-12, Closet Edition)
I ran my 12-12-12 decluttering challenge on the closet: 12 to throw away, 12 to donate, 12 to put back where they belonged. The donate bag went into my car the same day, because a donate bag sitting in the hallway becomes furniture within a week.
Here is the most important line in this whole post: I did not have a storage problem. I had a too-much-stuff problem. Once 36 items left the closet, the remaining clothes suddenly fit.

Step 2: Shop My Own Home
Shoe boxes became drawer dividers. I cut several sturdy shoe boxes down to a uniform height and they became perfect dividers on the closet’s deep shelf: one for socks, one for underwear, one for accessories. Same trick as my cardboard box storage ideas.
Small boxes corralled the small stuff. Belts got rolled into a small gift box. Sunglasses and watches went into another. Before this, those things lived in a junk pile on the shelf.
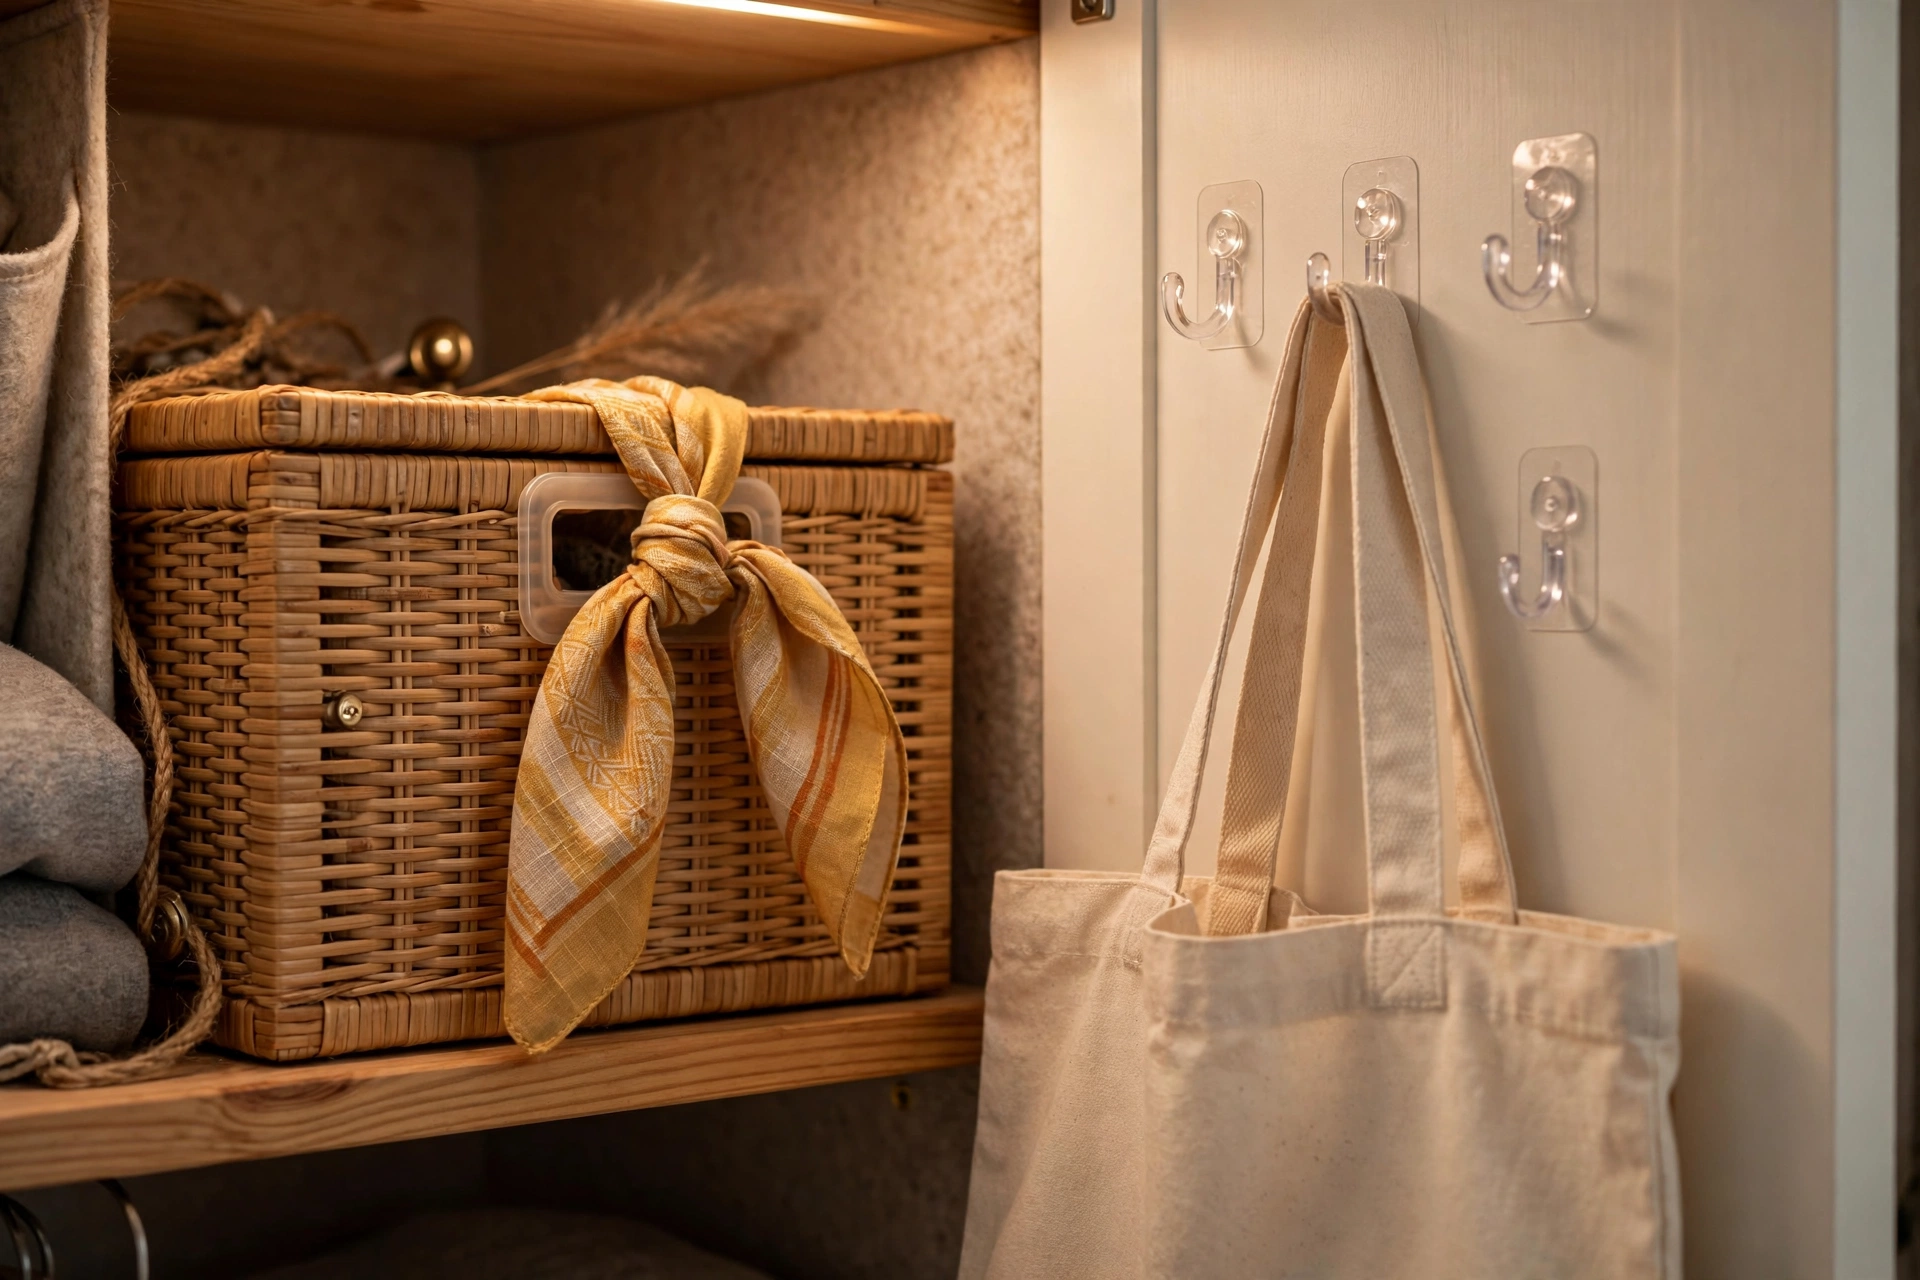
Scarves became labels. I tied a different scarf around each storage box’s handle: the silk one for accessories, the striped one for socks. I can spot the right box from across the room, and it looks intentional instead of improvised.
A spare tote bag became the accessory station. I hung a canvas tote I already owned on a nail hole left by a previous tenant. No new holes. Scarves, belts, and my most-worn totes live in it now instead of in a floor pile.
Step 3: Go Vertical (No Drilling)
I owned exactly one tension rod, a leftover from a curtain project. I wedged it between the closet’s side walls below the main rod, and it became a second hanging zone for shirts and folded pants. No tools, no holes, fifteen seconds of twisting. ForRent’s small-closet guide puts the tension rod alongside adhesive hooks and over-door organizers as the renter’s core kit, and that matches my experience exactly.
Two sturdy boxes stacked in the corner became a two-tier shoe shelf. Not beautiful, but it got six pairs of shoes off the floor and visible.

Step 4: Use the Back of the Door
In a drawer, I found four adhesive hooks left over from my last apartment, the removable kind, still in their packaging. They went up inside the closet door in about two minutes. Now the door holds three things: tomorrow’s outfit, my work tote, and a small hanging pouch for sunglasses and keys. Nothing heavy: adhesive hooks have limits. The chair-drobe is gone. The chair is just a chair again.
Step 5: Fix the Lighting With What I Had
My closet was a cave. In a junk drawer, I found a battery-powered tap light I bought two years ago and never used. It came with its own adhesive pad, renter-safe, removes cleanly. I stuck it to the inside wall of the closet at eye level. Total cost: zero. Total time: thirty seconds. The difference was absurd. If your closet is dark, fix the light before buying a single organizer. Seeing your clothes is worth more than any bin.

The After: What Changed (and What Didn’t)
What changed: the floor is clear. Every pair of shoes is visible and has a spot. Every item of clothing hangs with breathing room. The top shelf holds labeled boxes instead of a landslide. Getting dressed takes minutes, and I no longer dread opening the doors.
What did not change: the wire shelf still sags a little. The sliding doors still stick. It does not look like a boutique. It looks like a normal closet that finally works.
Total time: about four hours on a Saturday. Total spent: zero dollars. Total holes drilled: zero. Deposit: safe.
Bonus: What I Would Do With $20
The $0 version got me about eighty percent there. If I ever spend actual money, here is where twenty dollars would go: slim velvet hangers (the highest-impact closet purchase there is; clothes do not slide off them) and a second tension rod (for the slanted two-rod shoe shelf, no drilling, massive payoff). Neither was necessary. The free version works. The $20 version is just polish.
Frequently Asked Questions
Can you really make over a closet spending nothing? Yes, with one condition: declutter first. Most closets hold 30 percent more than the person actually wears. Once I removed 36 items, everything I kept fit the space I had.
How do you add a second hanging rod without drilling? With a tension rod wedged between the side walls. Measure first, twist until snug, keep it to lighter items. It comes down without a mark.
Will any of this risk my security deposit? Nothing drills, nails, glues, or paints. The tension rod twists out, the hooks pull off cleanly, the boxes lift out, the tap light peels off. I could return this closet to its exact “before” state in under an hour.
Conclusion
The closet did not need money. It needed an afternoon, a ruthless declutter, and permission to be creative with what I already had. If your closet is where clothes go to disappear, grab three bags, count to twelve, and shop your own home before you shop the store.