Short answer: you do not need a pantry. You need five zones doing the job a pantry used to do: walls for daily staples, doors for spices and small things, gaps between appliances for a rolling cart, your existing cabinets with risers and bins for dry goods, and under the sink as a proper cleaning station. Here is the full zone-by-zone system I built in my own pantry-less studio kitchen.
The first grocery run after I moved into my studio ended with me sitting on the kitchen floor, surrounded by bags, genuinely unsure where food was supposed to go. Four cabinets, one sad drawer, no pantry. Eight months later my “system” was opening three different cabinets to make one meal and buying duplicates of things I already owned. The turning point was a ten-dollar over-the-door rack hung inside the cabinet under the sink: suddenly my spices were visible for the first time in almost a year. That rack taught me the lesson this post is built on: a pantry is not a room. It is a system. And you can build it out of walls, doors, gaps, and the cabinets you already have.
Declutter First, Then Build the Zones
Before you buy a single organizer, do the unglamorous part: I ran a 12-12-12 round on my kitchen and pulled out expired spices from two apartments ago, three half-used bottles of the same vinegar, and a bread maker I had used exactly once. Organizing clutter is just expensive rearranging. Declutter first, then build the zones.
Zone 1: The Walls
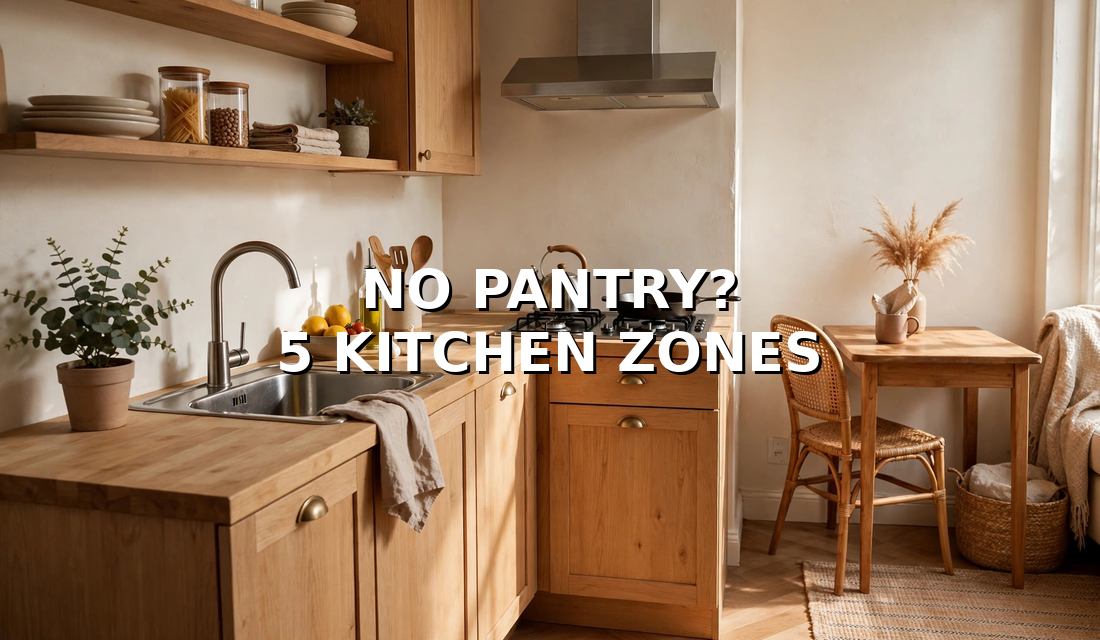
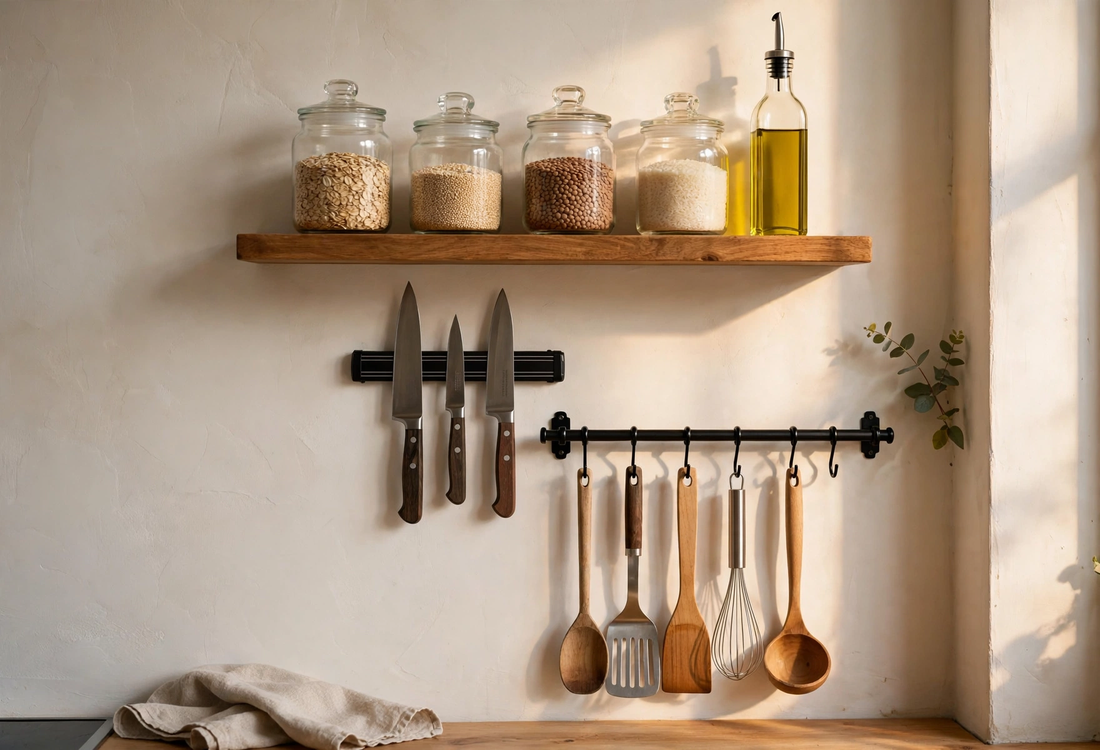
Walls are free real estate, and in a pantry-less kitchen they are your most valuable zone. One or two floating shelves near the stove changed my cooking more than any gadget. Mine hold the daily reach-fors: olive oil, salt, pepper, the cooking wine, a jar of red pepper flakes. The rule I stole from a designer friend: only what you use weekly earns wall space. Everything else lives behind a door.
My knives lived in a drawer for years, dulling each other, until I mounted a magnetic strip on the wall beside the stove. It cost less than a pizza and freed an entire drawer. Next to it, a rail with S-hooks holds my most-used utensils, plus a small hanging basket for garlic and onions. If your landlord forbids drilling, heavy-duty adhesive strips hold a surprising amount of weight.
Zone 2: The Doors
Cabinet doors are the most underused square footage in a small kitchen. Slim over-the-door racks fit on pantry doors or closet doors near the kitchen. For inside cabinet doors, I use narrow wire racks: one holds all my spices in alphabetical order, another on the under-sink door holds trash bags and dish soap. Measure your door clearance first; my first rack did not clear the cabinet frame and I had to return it.
If your studio has a closet within a few steps of the kitchen, claim it. I hung a clear-pocket shoe organizer on the inside of my coat closet door, six feet from the stove. It holds snack bars, tea boxes, seasoning packets, and all the small overflow that used to avalanche out of my cabinets.
Zone 3: The Gaps
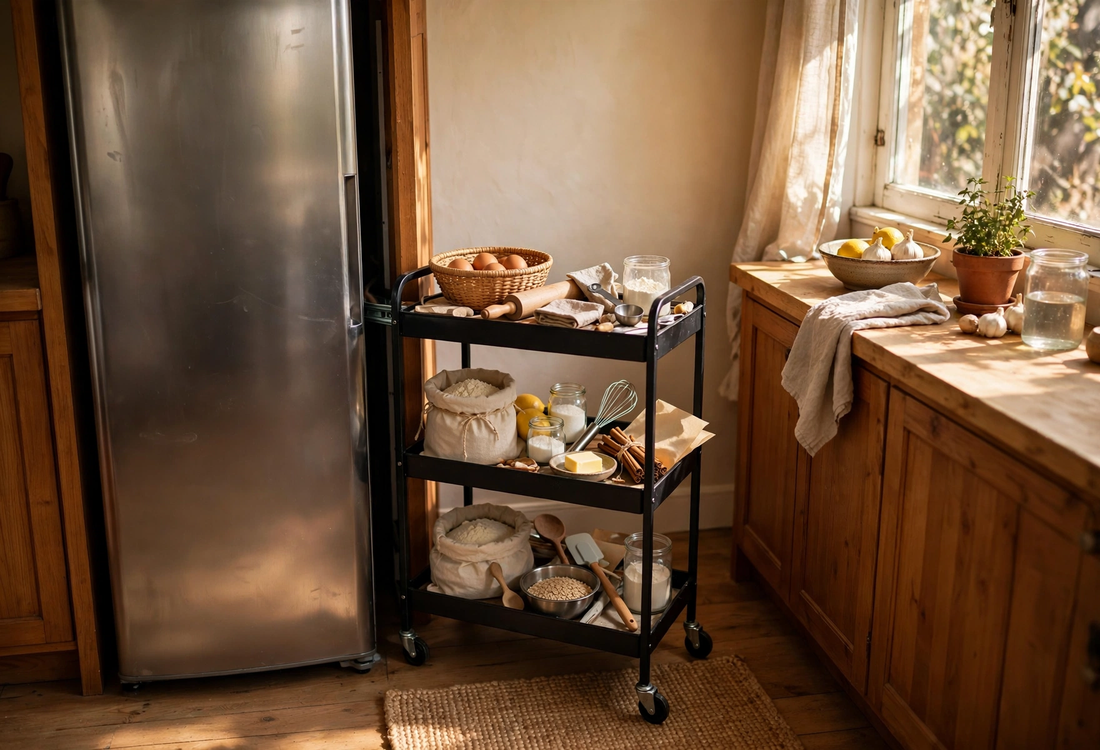
Every kitchen has dead gaps: the six inches between the fridge and the wall, the sliver beside the stove. A narrow three-tier rolling cart slid into the gap beside my fridge holds all my baking supplies, and because it rolls, the “back of the shelf” problem disappears. When I need floor space, it tucks into the gap and vanishes. Measure the gap twice before ordering.
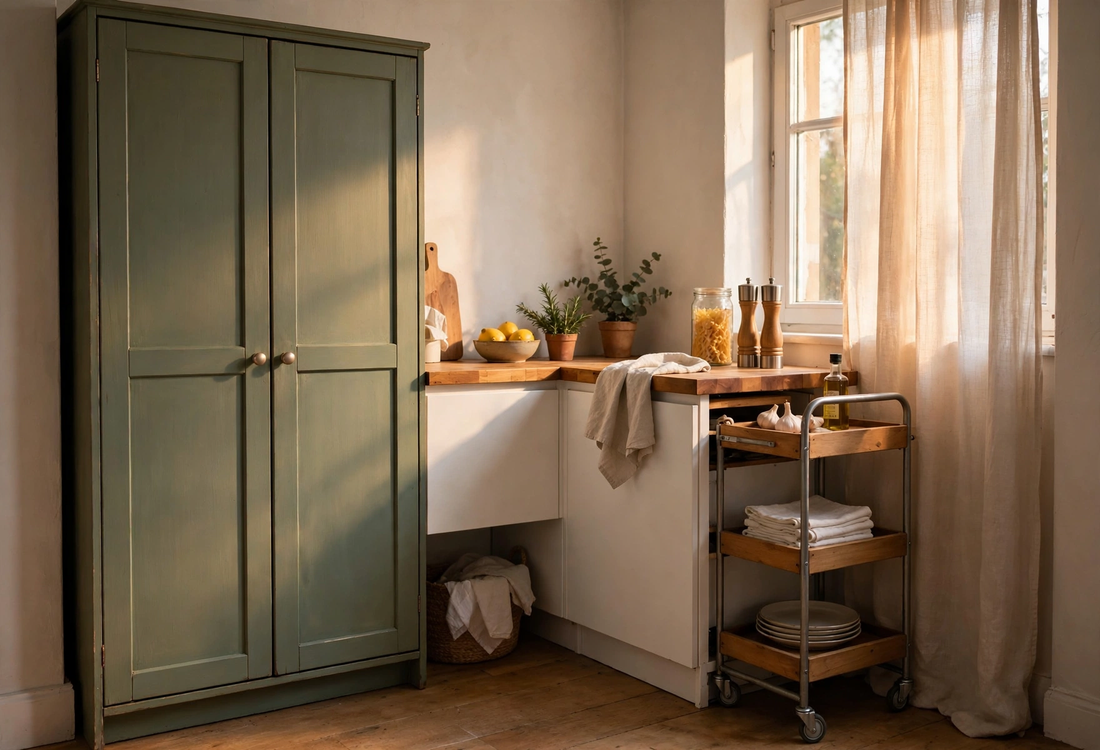
If you have one empty wall or a corner, a tall freestanding pantry cabinet is the closest thing to actually having a pantry. Four adjustable shelves, no drilling, no landlord permission, and it moves with you. Before buying one, though: shop your own home first. A bookshelf you already own does eighty percent of the job. I am not the only one who landed here: The Kitchn asked professional organizers for their makeshift pantry playbook, and the consensus was the same, a piece of furniture plus zones beats waiting for a real pantry.
Zone 4: Inside Your Cabinets
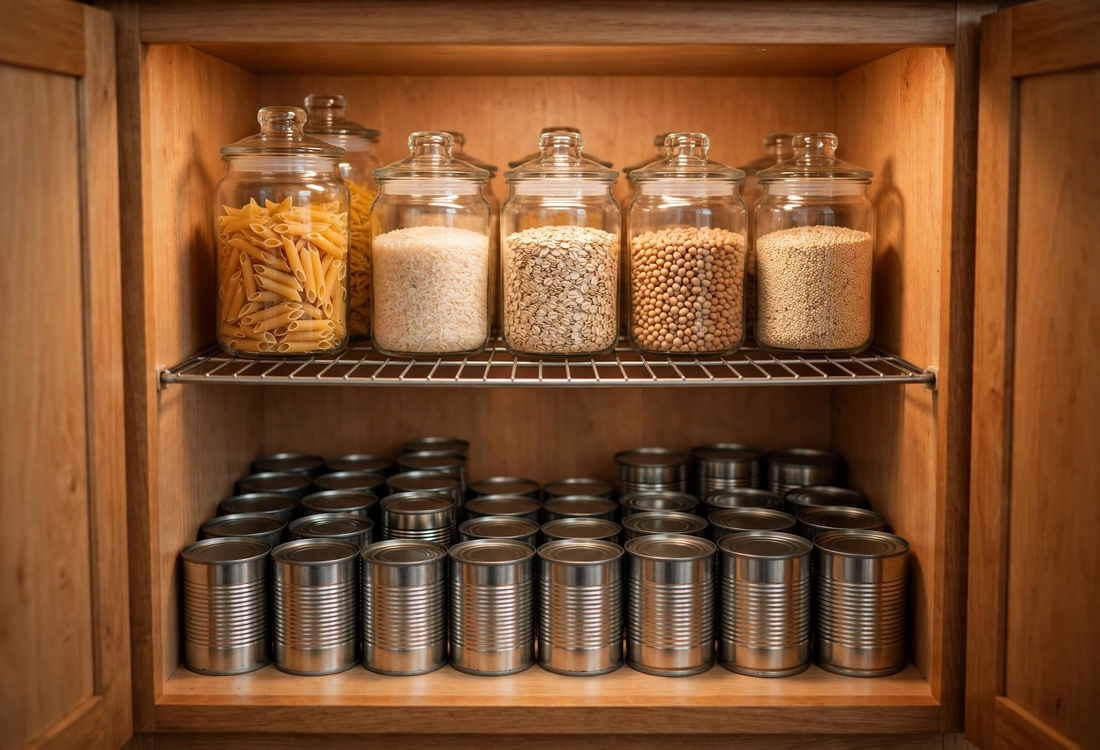
You are probably using only the bottom six inches of every shelf. A shelf riser creates a second level inside the cabinet: one ten-dollar riser turned my single chaotic can shelf into two neat rows. I now have them in three cabinets.
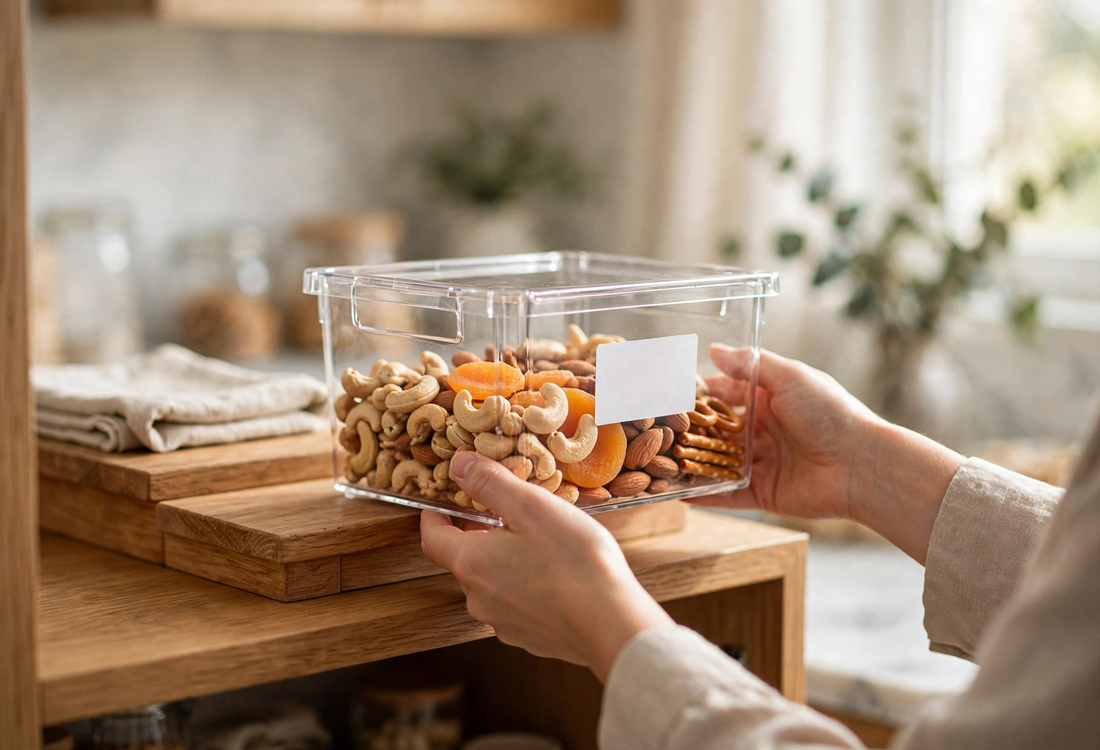
Decant dry goods into square airtight containers. They stack perfectly and you can see exactly what you have. Six containers, flour, sugar, rice, lentils, oats, pasta, replaced a sprawling mess of half-open bags. And use one clear bin per category inside each cabinet: baking, snacks, canned goods, breakfast. The bin is the unit, not the item.
Zone 5: Under the Sink
The cabinet under the sink is usually the largest one in a small kitchen and the worst used. I installed a two-tier under-sink organizer with a cutout for the pipes: daily dish soap and sponge up top, backup supplies below. A tension rod across the inside holds spray bottles by their triggers, hanging above everything else. The inside of the door got a small rack for dishwasher tablets and trash bags.
My Actual Map
Walls: cooking oils, salt, pepper, daily spices, knives, utensils. Doors: full spice rack, wraps and foils, trash bags. Rolling cart: baking supplies. Freestanding cabinet: canned goods, cereals, snacks, pasta, small appliances. Cabinets with risers: dishes, glasses, mugs, decanted dry goods. Under the sink: all cleaning supplies. Fridge top: one basket for bread and fruit, and nothing else.
The principle: daily things visible and reachable, weekly things one motion away, monthly things behind a door.
3 Mistakes I Made First
Buying organizers before decluttering. My first attempt was a shopping trip, and it failed completely. The 12-12-12 pass first, organizers second. Always in that order.
Storing food by container instead of by use. Now breakfast things live together, baking things live together. You cook by meal, not by packaging material.
Letting the fridge top become a pantry. Now it holds exactly one basket. Every zone needs a limit, or the clutter just relocates.
Frequently Asked Questions
Where do I store food with no pantry at all? Build pantry zones: a freestanding cabinet or rolling cart for bulk dry goods, wall shelves for daily staples, door racks for spices, and risers plus clear bins inside existing cabinets. Most studio kitchens can absorb a full pantry’s worth of food across five zones.
What is the best pantry alternative for renters? A freestanding pantry cabinet or a tall bookshelf. Both need no drilling and move with you. For zero investment, use over-door racks and the inside of cabinet doors.
How do I keep open shelves from looking cluttered? Only things you use weekly earn wall space, and keep containers matching and neutral. If a shelf starts collecting things you do not reach for, those belong behind a door.
Conclusion
My kitchen still has no pantry. It also has no cans rolling around in cabinets, no duplicate spices, and no grocery bags on the floor. Start with the declutter, then pick one zone, the doors are cheapest, the walls are most transformative, and build from there. Your pantry was never a room. It was always just a system waiting to be built.